FEATURED STORY
Sony stabilization
By Jacques Crafford
Let’s talk about Sony Stabilization. Which mode should you use? Standard Steadyshot or Active Steady? What about Catalyst Browse & Gyro Data? Steadyshot on a gimbal or not? What about tripods? In this article I’m going to answer all these questions and help you understand which stabilization method is the best suited for the right scenario of filming.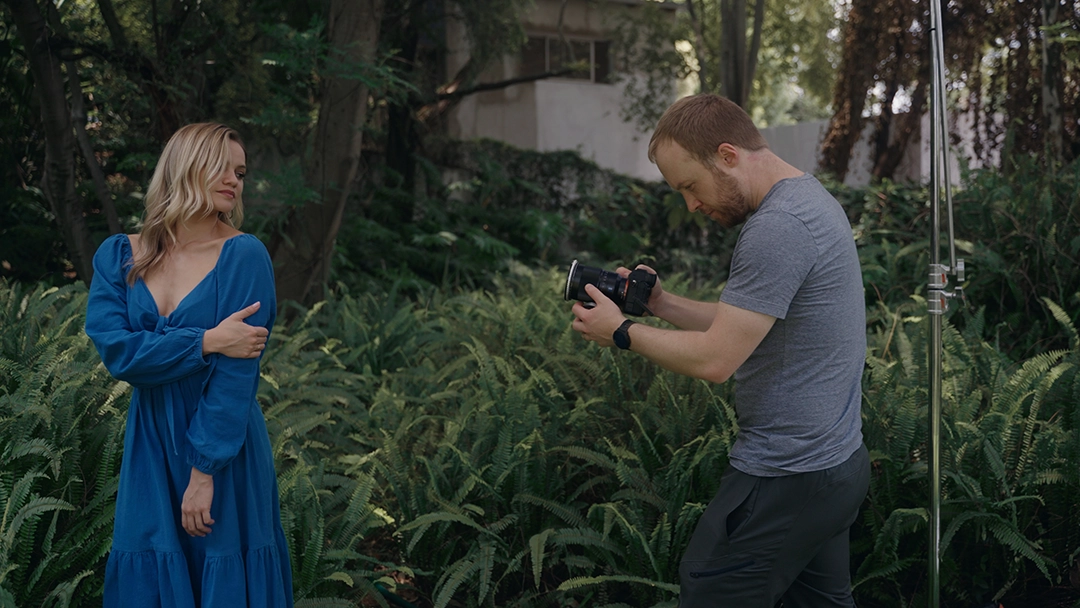
First on the list we’ve got stabilization using Gyro Data. If your camera has this functionality you have the option to use this data with Sony’s Catalyst software to stabilize your footage afterwards. It’s very important to distinguish between the two versions of Catalyst. There’s a free version called Catalyst Browse and a paid version called Catalyst Prepare and the biggest difference between the two is the fact that Catalyst Browse can only export in 8 BIT and not 10 BIT.
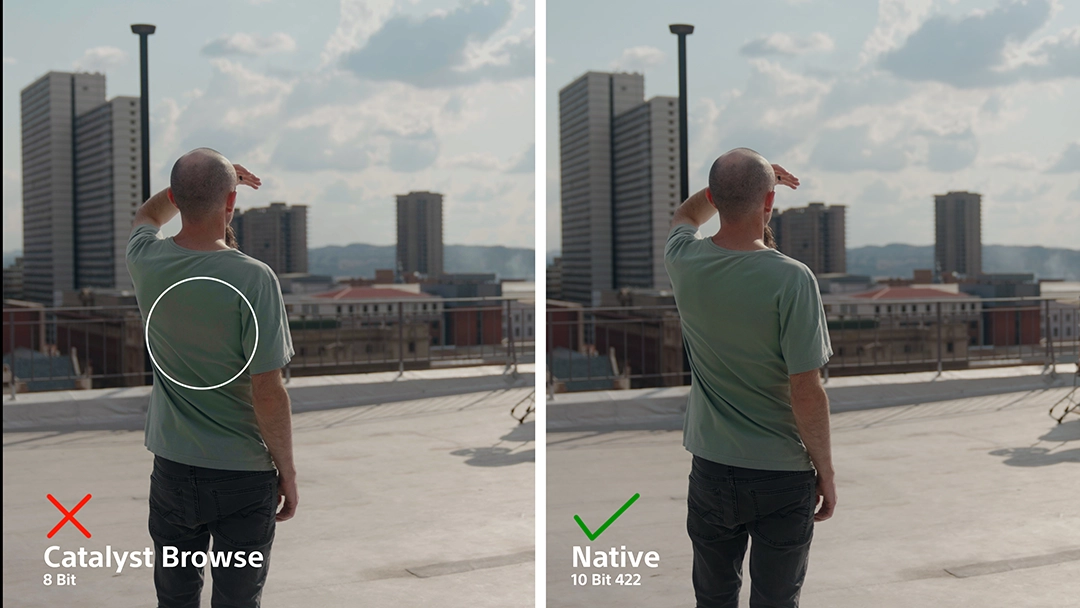
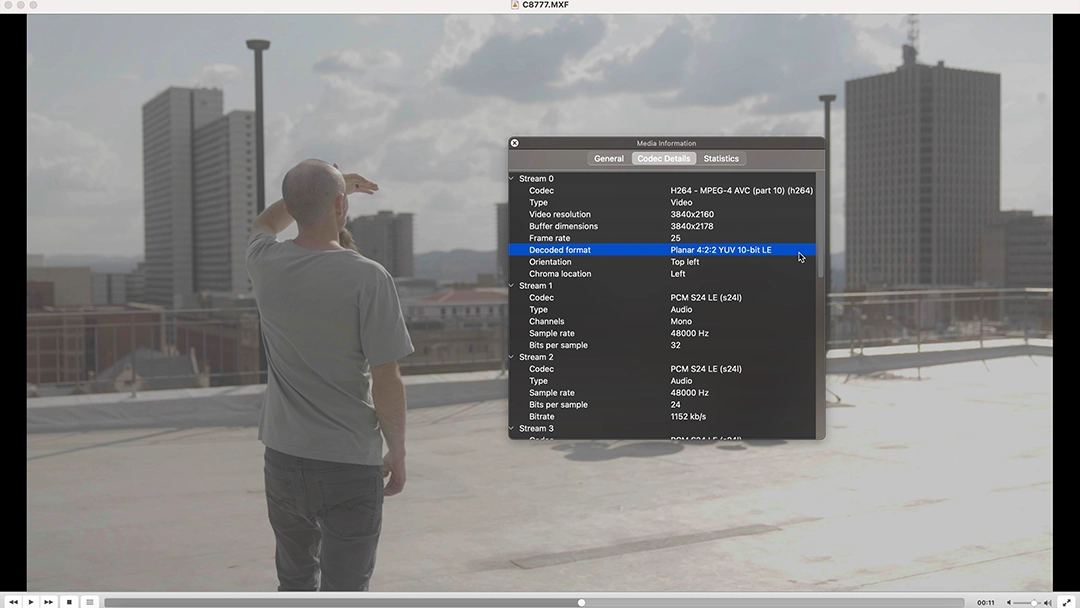
I can understand why one might mistake the Catalyst Browse footage for 10 BIT because If you look at the file info, it does display 10 BIT but in reality it’s just the wrapper, the actual clip is only 8 BIT. A quick test to confirm this is to export a clip from Catalyst Browse. You don’t even have to stabilize it, just selecting “same as source” which one would assume is going to be 10 BIT 422 right. Unfortunately not. You can put the same colour grade over both clips and the one from Catalyst will quickly fall apart with severe banding and artifacts. That’s because of the conversion from Log, the 8 BIT file is just not able to handle it. If you don’t see it straight away just push the grade a little more and it’s pretty obvious. This is a massive issue if you’re shooting in S-Log and want to do any form of colour grading. Even if you choose a baked-in profile like S-Cinetone, I just don’t like working with 8 BIT footage because you get so much more freedom out of 10 BIT to do stuff like masking and qualifying.
On the flip side when you use the paid version of Catalyst Prepare, you’re getting clean 10 bit 422 footage as one would expect but my issue here is that in order to get amazing results you need to crank up the shutter speed breaking the 180 degree shutter rule. The rule states that your shutter speed should be double than that of your selected frame rate.
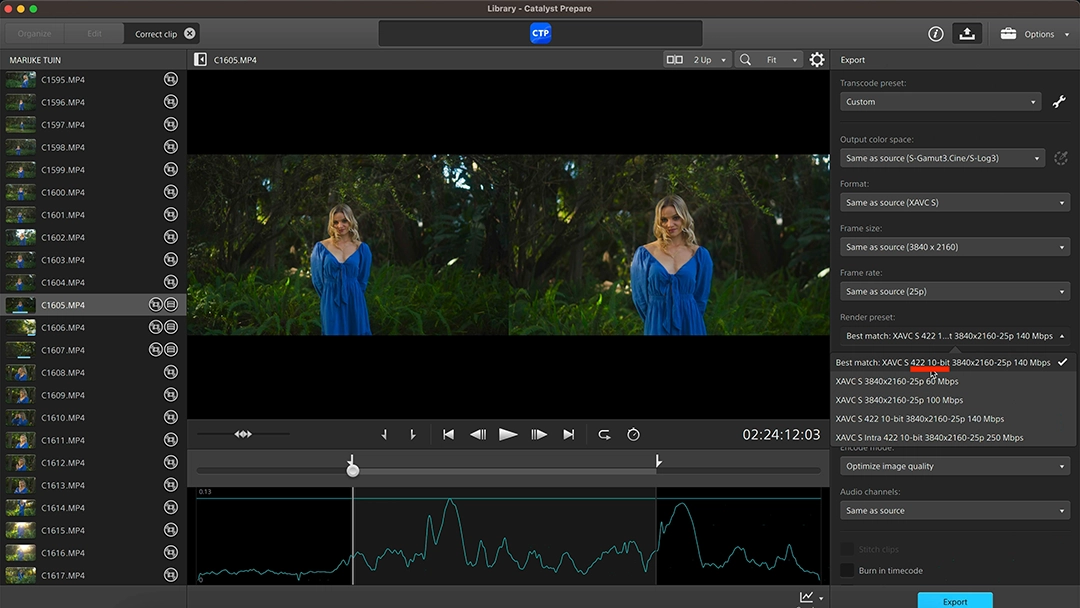
Stabilizing footage at the normal 180 degree shutter can introduce serious blur in the image and the only way around this is an increased shutter speed. Personally I don’t like to do this because I love the natural motion blur that comes with 24/25 Fps at a 180 Degree Shutter Angle, the very thing that makes the footage feel more realistic & cinematic. In some action scenarios one might double the shutter for effect but even then, if you want to get super smooth results you might have to push the shutter even higher. Some Editing platforms do offer motion blur in post but it might not always give you the same or desired effect.
Using Gyro data can also crop in significantly if the footage is shaky to start with so I always prefer to shoot more stable in-camera before going to post. So who is Catalyst Browse for? If you don’t care about shooting in Log, you don’t do major colour correction and you don’t care about a fast shutter speed but you just want smoother footage by all means go for it.
The only time I will opt for Catalyst Prepare is if I’m shooting on the FX6 and I can’t manage the stabilization in post. So with Catalyst out of the way let’s look at Standard Steadyshot, Active Steady and Dynamic Stabilization.
Dynamic Stabilization is the equivalent of using Catalyst Browse in camera but without the ability to tweak the footage afterwards. You’re getting 10 Bit for sure but it’s a gamble how the footage will look depending on the scenario. It crops in a bit too much for my liking and I won’t recommend it for professional use. For personal projects, travels and vlogs it can totally work but I would only suggest switching it on when there’s more shake than usual because the other modes already do a good job without the crop.
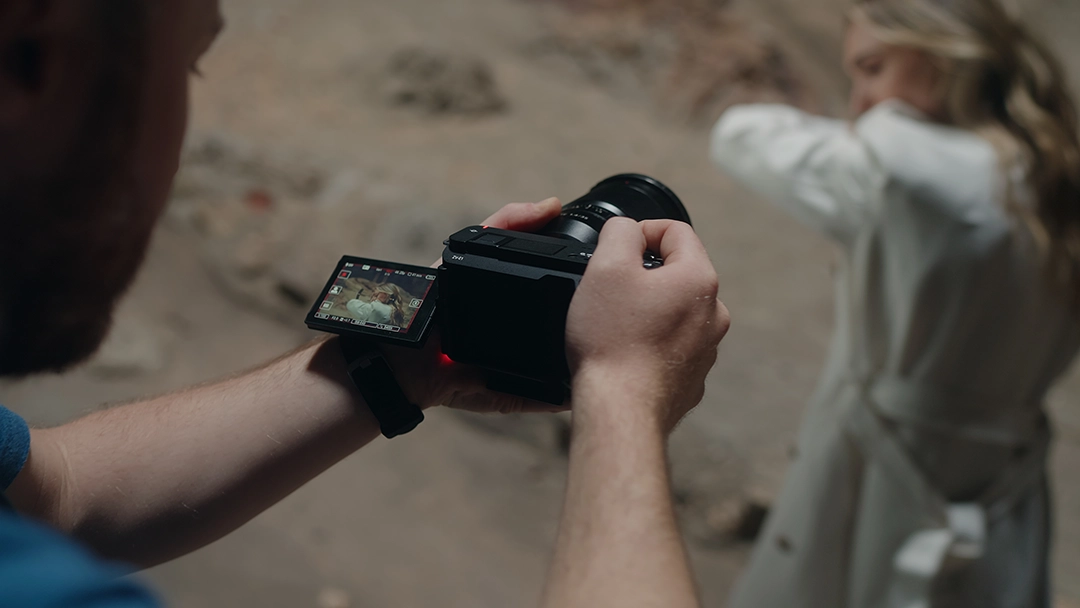
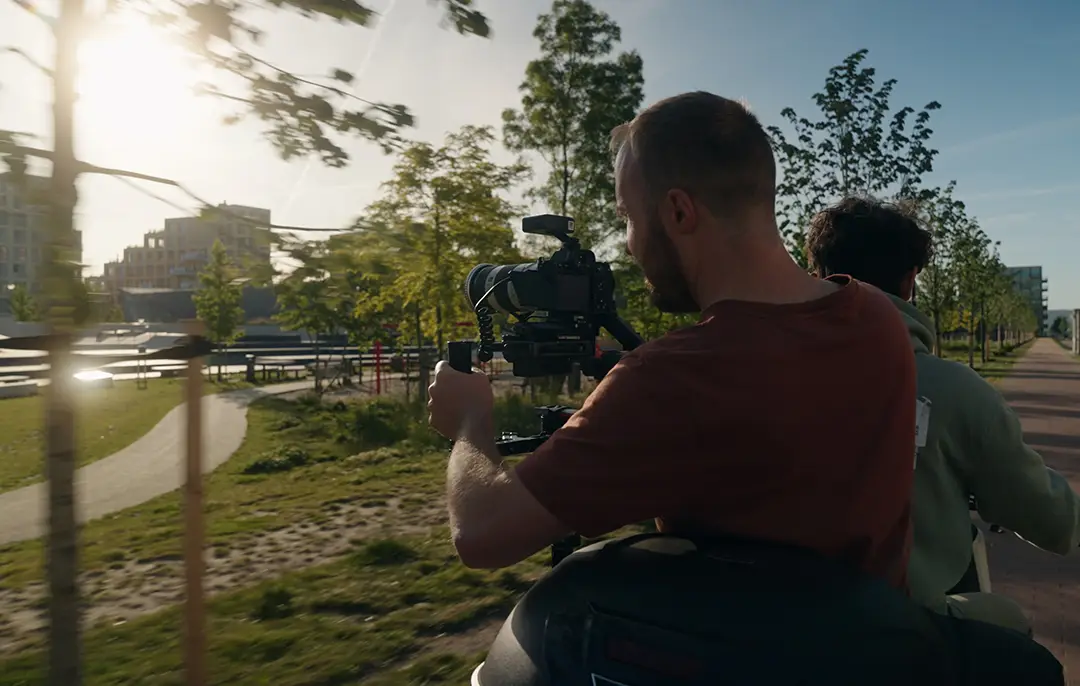
Active Steady works incredibly well and I often use it but only in the following scenarios: When you’re shooting handheld and you want to push the camera forward or move it backwards. Even when walking Active Steady does a great job here but in general you’ll get better results from 35mm and up and with your wide lenses you’re bound to get some warp in the corners.
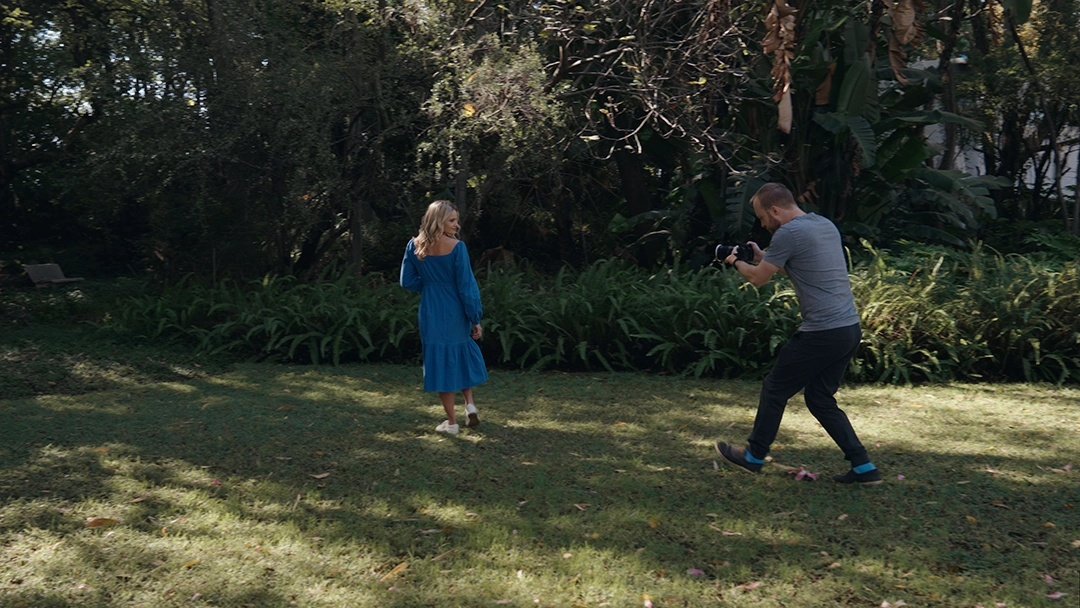
The major issue with active steady is when you use it on a gimbal and when you pan sideways. Active Steady battles against a gimbal and you’ll probably see some sort of warping in the edges if you do big movements. It’s also a no-go when panning left or right like trying to track a subject coming past. If you pan just a little too fast the image jumps a bit and ruins the shot.
Active steady also shines when you put on longer lenses. Anything over 70mm and it’s like magic especially when tracking a subject sideways on a gimbal. But wait, didn’t you just say not to use active steady when on a gimbal? This is the only exception. Longer focal lengths like 70mm and up work well here but only if you track a subject and refrain from doing rapid pans left or right.
Before moving onto Standard Steadyshot I feel like it’s important to explain this concept. Just as a high shutter speed helps with stabilization in POST, on the flip side a lower shutter speed helps make your in-camera footage look more stable because the subtle motion blur helps to disguise some of the shake, it’s basically like opposites. Shooting at a high shutter speed without any form of stabilization in post will amplify the feeling of shakiness because the movements are naturally sharper. When shooting at a 180 degree shutter, your in-camera footage looks smoother but the freedom to stabilize in post is smaller. I prefer to shoot in-camera as stable as possible so that a subtle post stabilization will be enough without taking the risk of serious crop and sacrificing motion blur.
Standard Steadyshot is my go-to for almost everything. There’s this myth that you should disable it when you’re on a gimbal or on a tripod, and it’s simply not true. No matter how many tests I’ve done, steadyshot wins every single time. Some will argue that you should disable it when you’re on a tripod but it really doesn’t affect your stable static shots in any way but still helps with any micro vibrations that comes with handling the camera. When using manual or cine lenses it’s super important to dial in the custom focal length of each lens before shooting because if the wrong focal length is selected it can actually cause more shake.
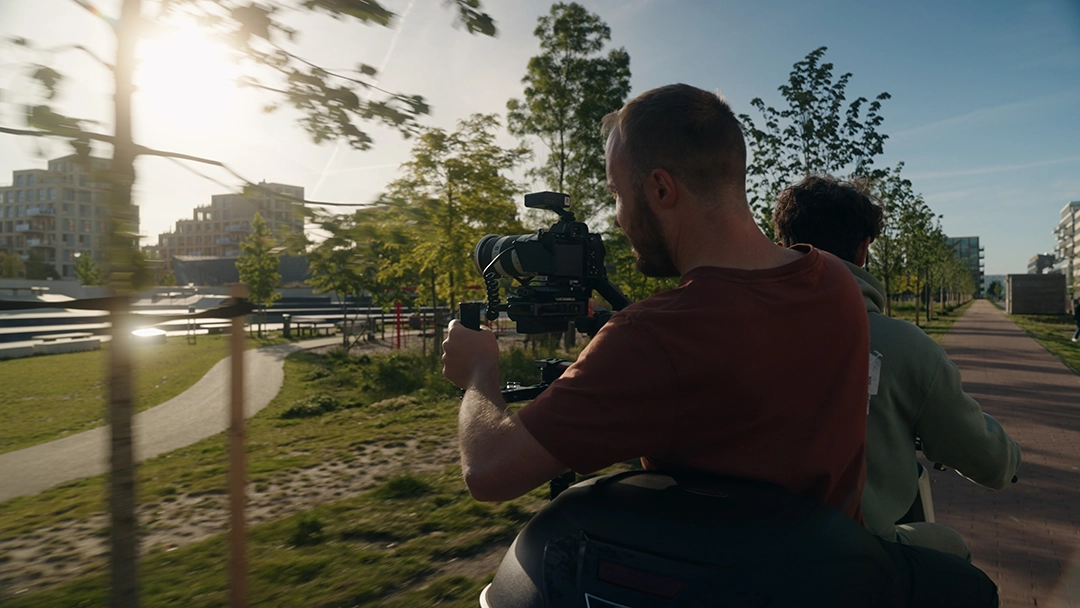
Steadyshot is the secret sauce to eliminating micro vibrations on anything and I never shoot without it unless I go up to Active Steady. The rest is only up to how you physically handle the camera. There’s a ton of ways to stabilize the camera but my favourite is still to make the camera heavier. Although I really use the extra accessories on some of my rigs, I sometimes feel like I just want to rig it up for the sake of making the camera heavier. Although shooting in slowmotion also helps with stability, this should never be the reason why you shoot at higher frame rates. Let me say that again. If you’re only shooting slowmotion for stability sake you’re missing the point. Frame rates can have such a massive impact on the pace & feeling of your film and changing this just for the sake of stability defeats the purpose.
Last but not least, stabilizing in post. I still stabilize my footage in post, even my gimbal shots. Sometimes it’s just to take out a subtle shake and sometimes it’s to dramatically smooth out a shaky shot. Make sure you choose the right mode of stabilization, and if it’s too intense, dial it down a bit to get balance between shake that’s acceptable and footage that doesn’t blur because of a lower shutter speed. This method works for about 99% of the shots I ever shoot and if there’s one that I can’t use, I’m either gonna cut it or just use it anyway, but the fact is I know how far I can push my handheld footage in the field and that comes with experience so my best advice is to keep on practicing and before you know it, this is a topic you just won’t think about anymore!

