FEATURED STORY
Dynamic filmmaking
By Jacques Crafford
A core desire for videographers and filmmakers is always to create something that resembles the magic of cinema. Although budget constraints can be a limiting factor, it has become increasingly easier and more accessible to create high level content with minimal resources.The two main reasons for this are the improvement in technology & availability of educational resources. Cameras are getting smaller yet better & education around cinematic filmmaking is more accessible than ever.
In my pursuit to make my own videos look more like movies I’ve identified 5 things that will make a massive difference when you combine them. All of these tips are derived from one powerful principle - Contrast.
When I say contrast, I’m not referring to the contrast slider that increases highlights and crushes the shadows, but more about an overheard principle that if applied will guarantee to make your videos look and feel more like what you see on the big screen.
1-First up we’ve got Contrast in brightness.
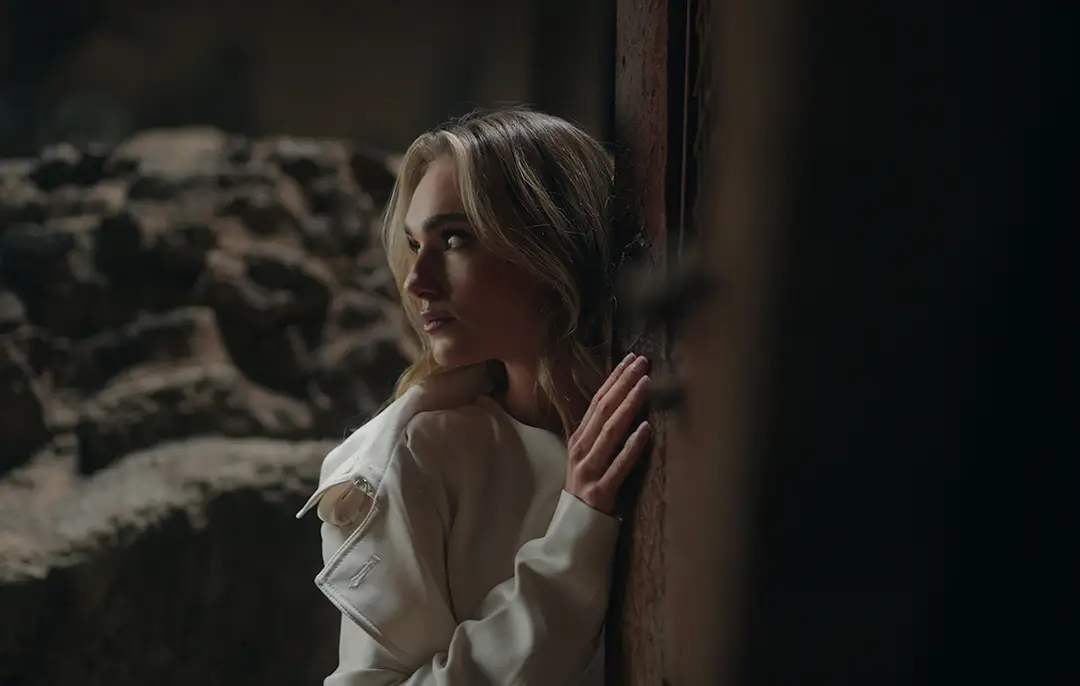
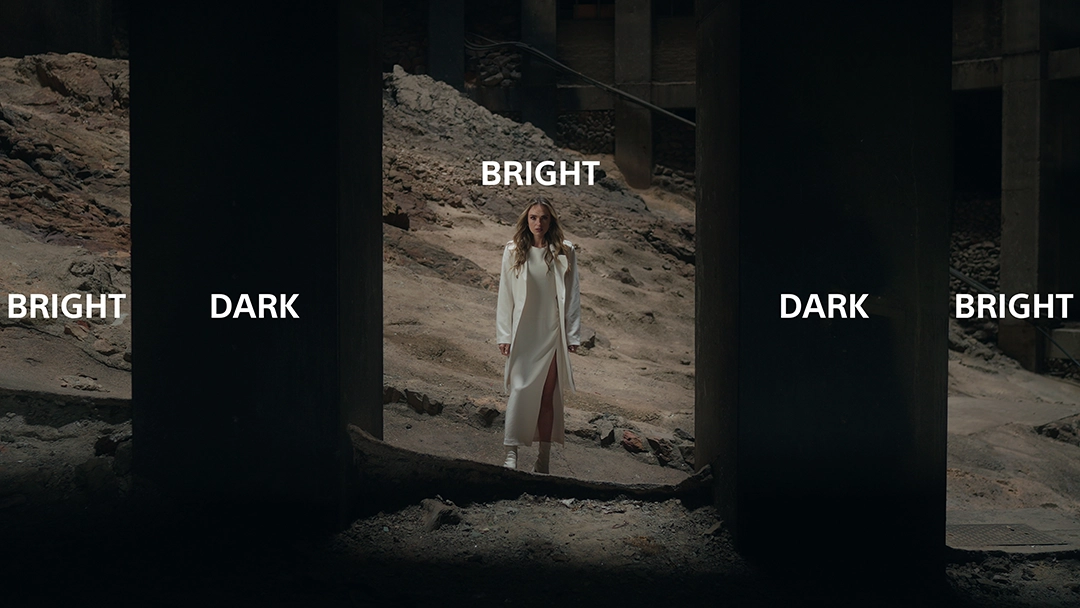
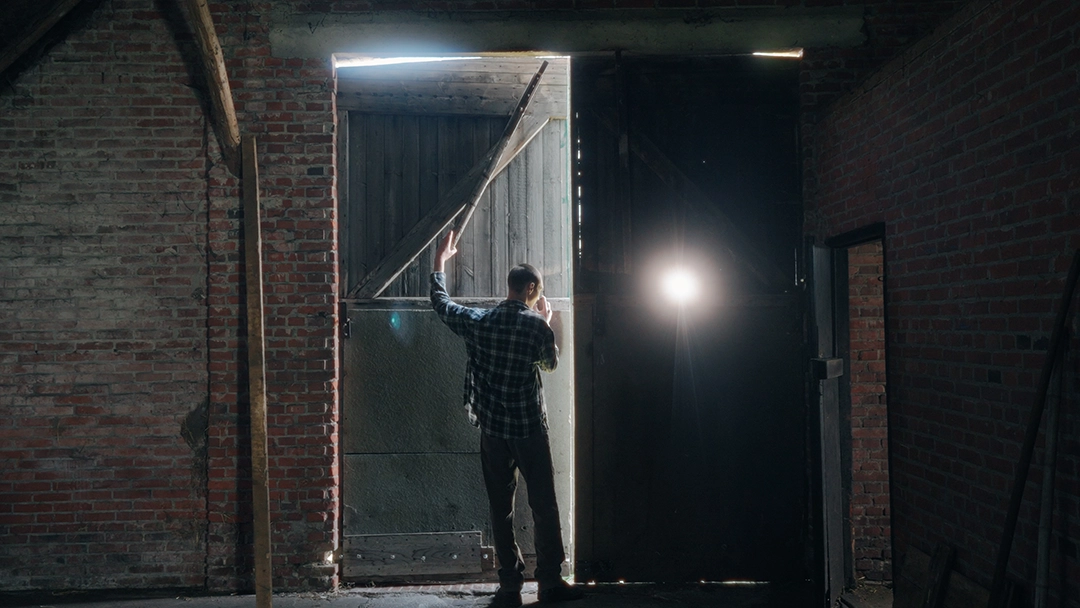
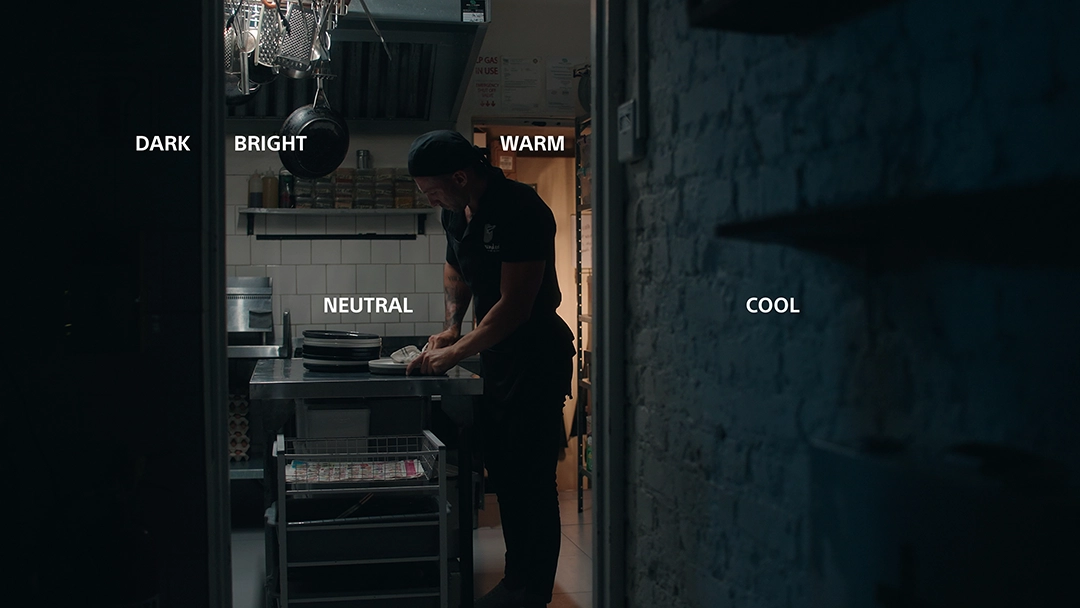
This is about strategically playing with light and shadow within a scene & creating depth through a careful balance of bright and dark areas. If you analyze these screengrabs you’ll quickly discover a common thread throughout and that’s a contrast between bright and dark areas all over the scenes. Some people call it the Checkerboard because of the jumps between contrast over the frame but it doesn’t always have to be bright, dark, bright, dark, really what you want in a scene is different pockets of light.
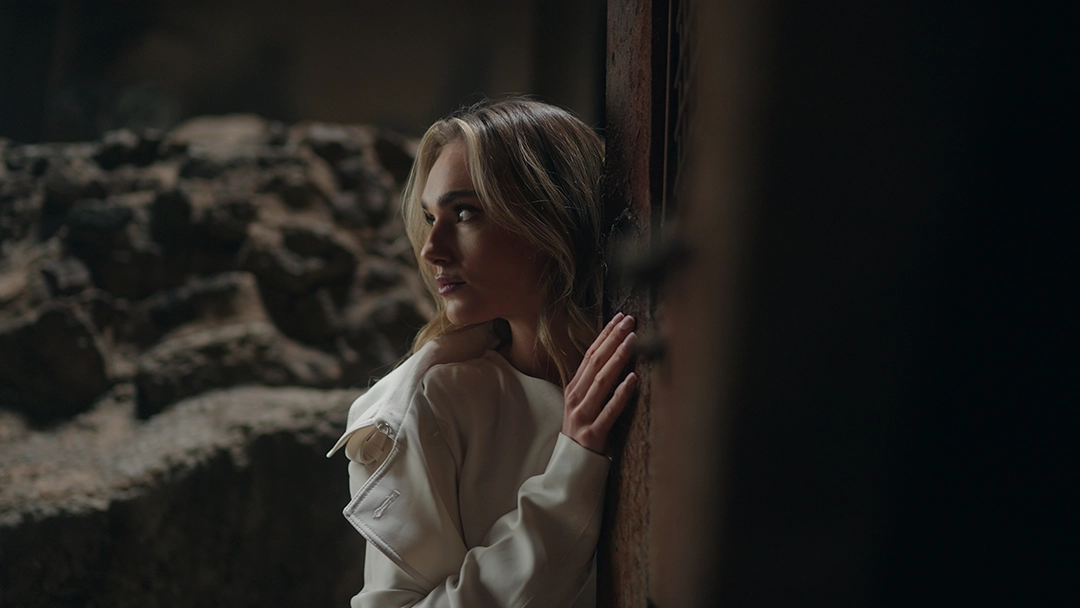
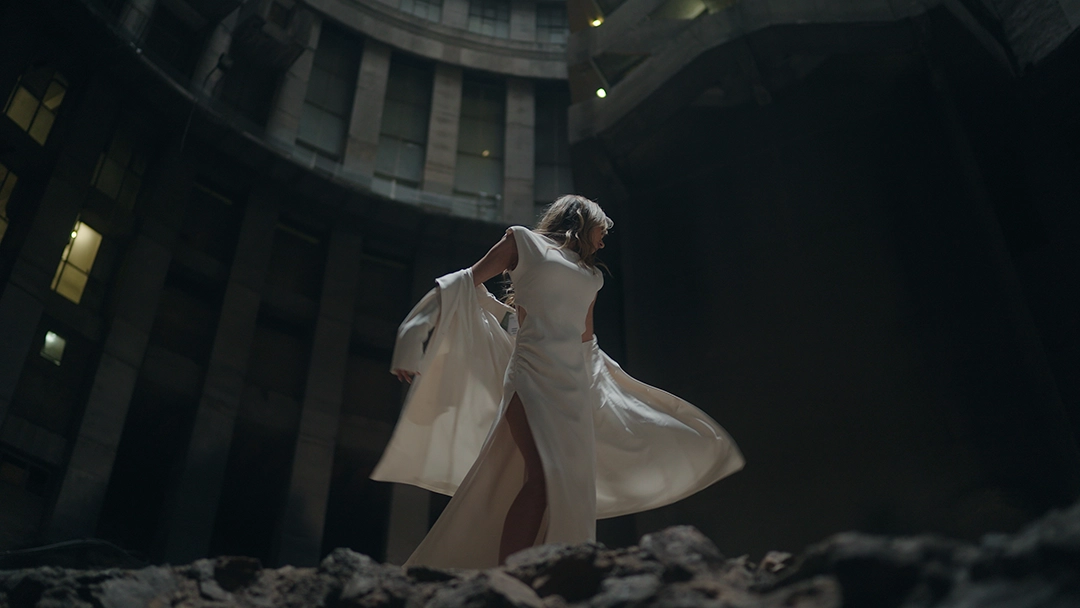
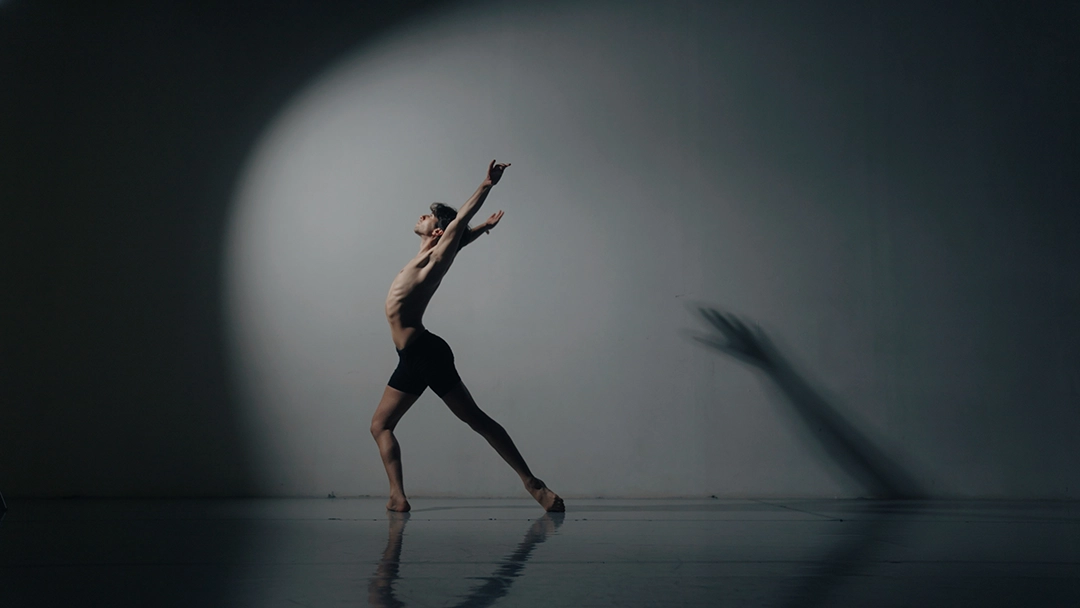
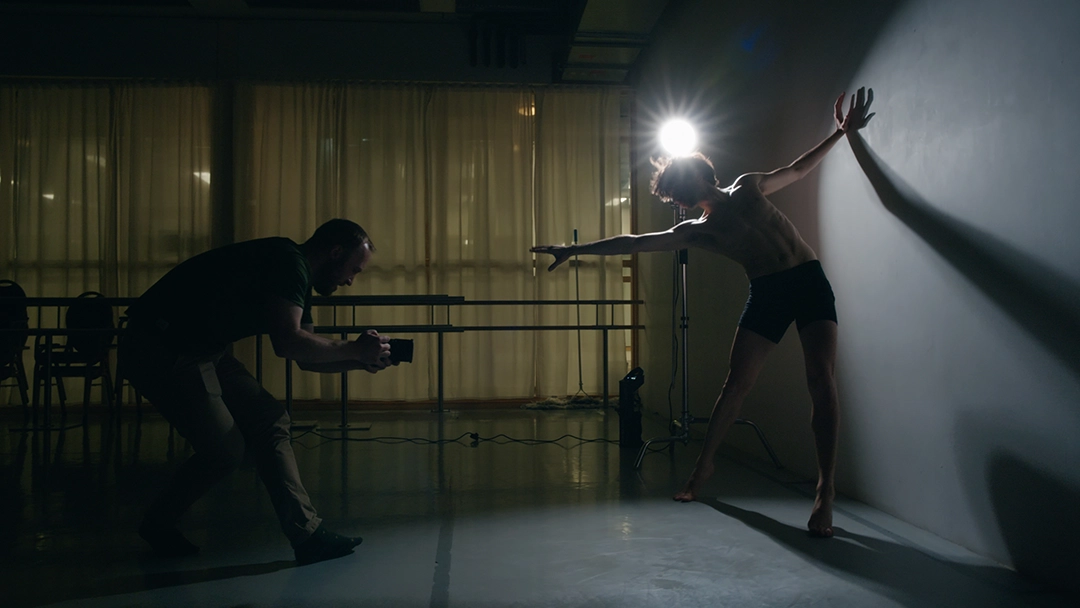
These dancing scenes were filmed in a boring studio and we had to rely on clever lighting and framing. Using just a single hard light source from the side creates this pocket of light against the wall with the movements creating sharp and defined shadows. With this I’m not saying all your scenes need to be low key, high contrast but playing with bright and darker pockets will always make your scene more interesting.
Apart from how you light, a big addition to the final look comes down the dynamic range of your camera. This is one of the main things I look for in a camera and I will choose it over resolution and frame rates. A high dynamic range captures more detail in the highlights and the shadows without looking “high contrast” in other words it’s not about having blown out highlights and crushed shadows but more about having defined areas of bright and dark, all captured beautifully by the camera sensor. Cameras like the Sony FX3, A7sIII, A1, ZV-E1 and A7IV, can do up to 15 stops of Dynamic Range in Slog3 which means you’re getting a more pleasant rolloff in the highlights and deep shadows full of information, a big contributor to the “cinematic look”.
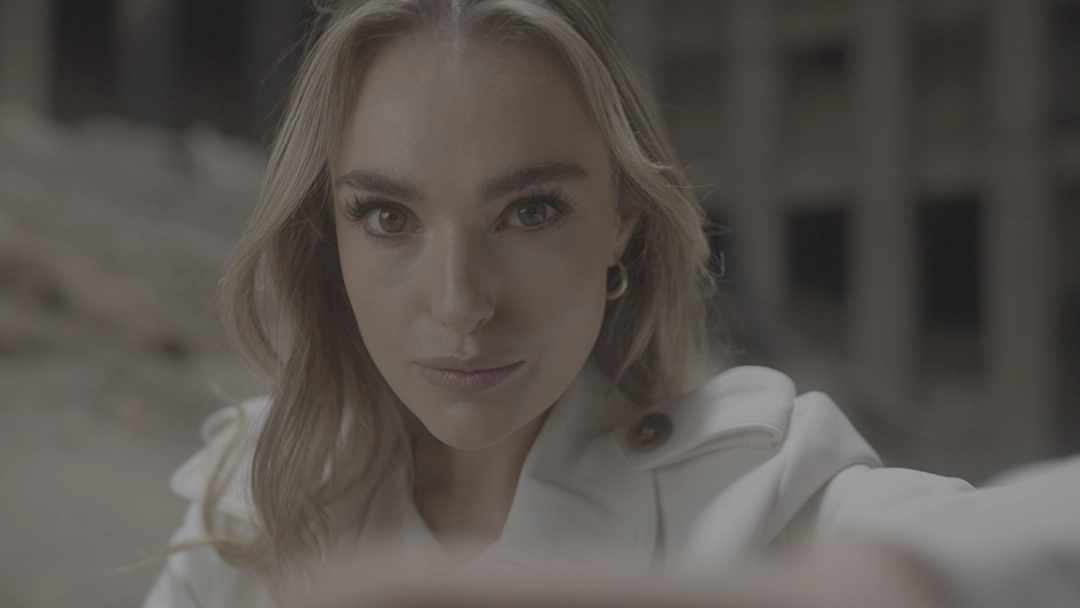
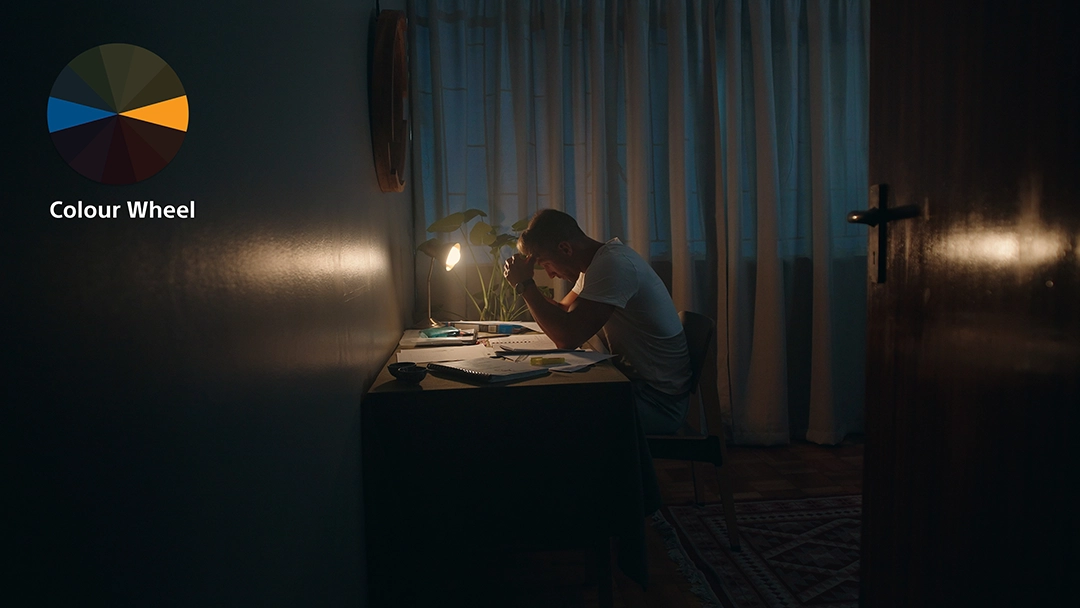
2-Next we’ve got colour contrast.
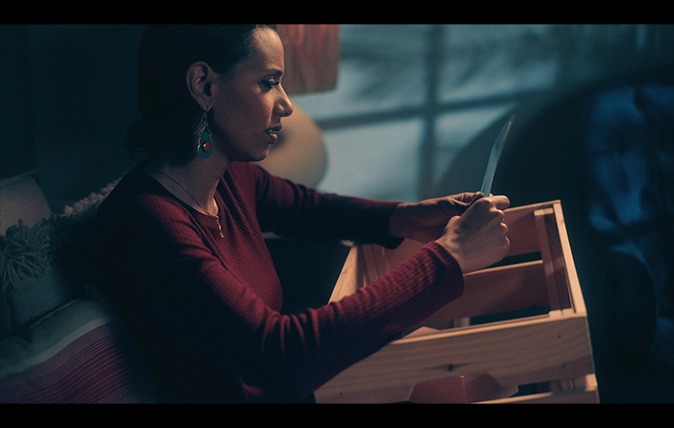
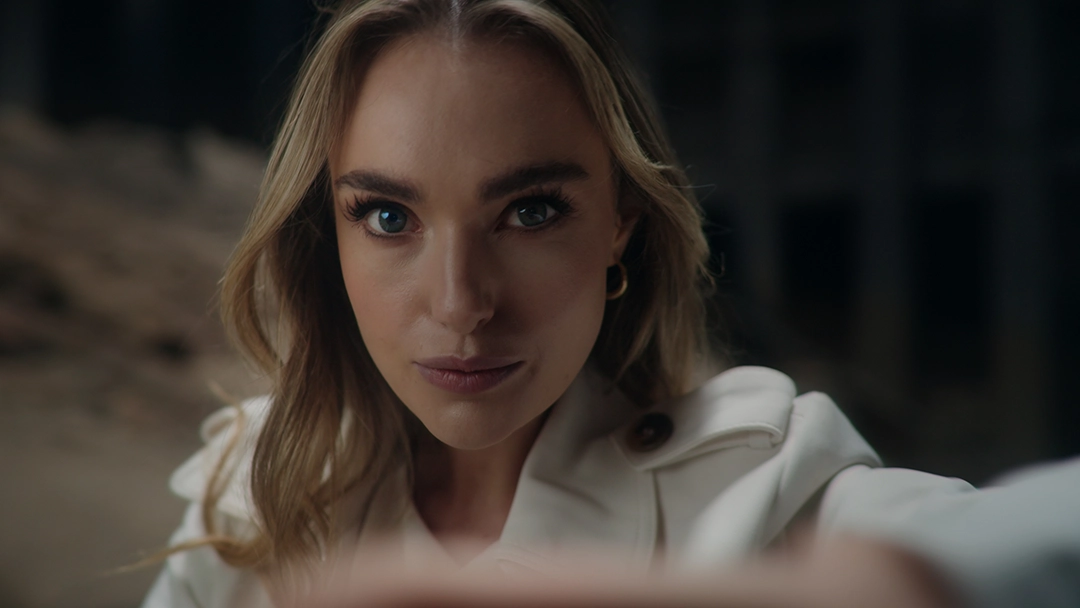
One of the best ways to add more depth to your scenes is to make use of opposing colours. On the colour wheel it’s pretty easy to spot so the goal is to combine these opposites in the same scene. This can be done with lighting, grading and styling. In lighting, the most common use is the contrast between warm & cool colours. This combo is used excessively in scenes #1 because it works & #2 because it feels natural so you have more freedom to use it. In the first example we’re playing with a simple warm lamp and some cool night light against the curtains. Can you spot the pockets of contrast in lighting?
In this kitchen scene we used a combo of colour contrast and pockets of bright and dark. It’s as simple as that and if you don’t have all the lighting equipment to set it up from scratch, just look for locations where it happens naturally. Here I’m referring to real life practicals. A night scene with warm street lights and a natural blue sky is pretty straight forward.
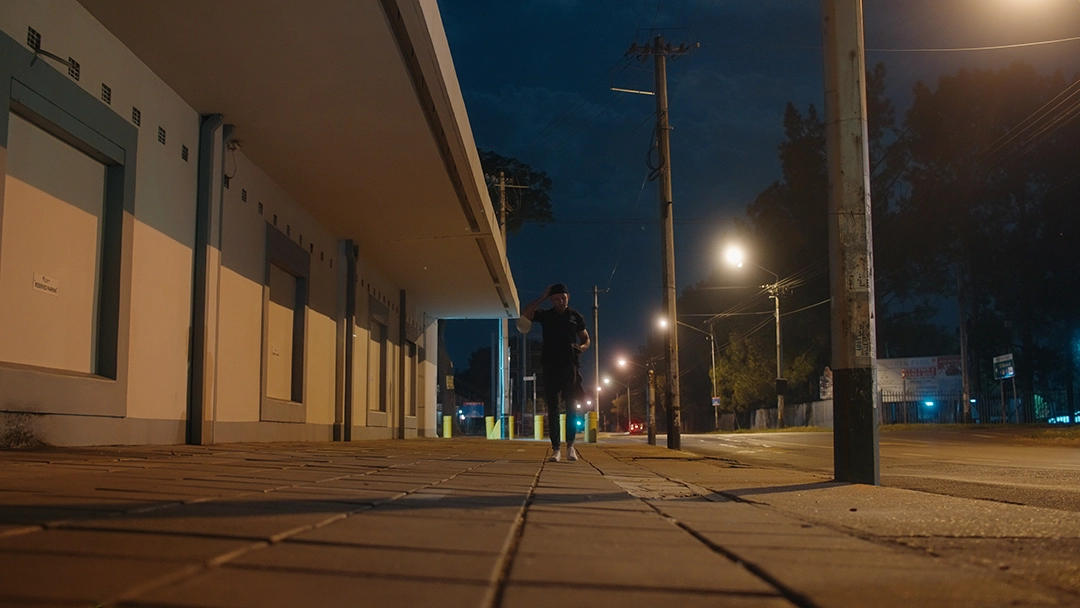
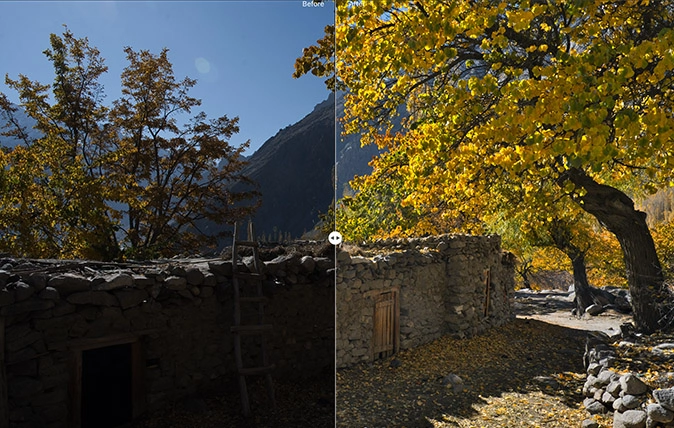
You can amplify this effect by tweaking the colour grade and this is where your popular Orange and Teal colours come in. Playing with warmer highlights and cooler shadows is a great way to achieve this but the trick is not to overdo it. It’s super important to have the flexibility to push the camera codec to abide to the look you want. Here you want to draw a clear line between 10 BIT & 8 BIT. Cameras like the Sony FX3, FX30, ZVE-1, A7sIII, and A7IV all have an internal 10 BIT 422 Codec opposed to the older bodies like the A7sIII, A7m3, A7C and A7rIV that only offers 8 BIT 420. 10 BIT is not only essential for Shooting in Log but it gives you the flexibility to push your colors far beyond the limits of 8 BIT. The added 422 color enables you to get more accurate keying in both green screen and working with the qualifier to isolate and make individual changes to color. Sometimes, the only way to enhance the color contrast is by means of qualifying certain areas of color in the image and adding saturation or pushing them more towards one of the spectrums.

3-Contrast in Sound
Another way to make your scenes more dynamic is to play with the contrast between sound. There’s something powerful about hearing sound, going quiet and hearing sound again. Contrast in sound effects can enhance the feeling of a scene when the sound comes back from a moment of silence. In most movies when there’s an explosion scene they usually cut the sound just before the explosion. The explosion isn’t in any way louder but because of the silence before it, it has more impact and feels louder. Cutting from sound to no sound can evoke a variety of emotions, immediately telling the viewer to pay attention, that something important is happening.
4-Contrast in Music
With music this is even more powerful. Whether it’s thrill and excitement, inspiration or sadness, the idea is to craft your edit so that you can take the viewer on a journey with various parts of contrast, like a rollercoaster. This can be utilising a chorus at a drop or just turning up the volume at the right time. A rollercoaster goes up and down and if you can get this right with your music you build up to a drop by going softer or less intense and then when the right moment comes, the beauty of the music is appreciated more!
5-Last but not least Contrast in Frame Rates
Another way to make a scene more interesting is to use one frame rate for a duration of time and then suddenly jump to a new frame rate. This is great if you’re using a natural frame rate like 25fps and jump to slowmotion. When you do the cut one suddenly appreciates the slowmotion shot more because you’ve been seeing fast motion the whole time. You can also do it the other way around where you cut form a bunch of slow-motion clips and all of a sudden the speed picks up in realtime, same effect. This is something you have to be intentional about so if you have the option to shoot in more than one frame rate, go for it but make sure you have enough shots of one frame rate to create that moment of contrast.
It’s important to know the ability of frame rates your camera offers and how it affects the image in various settings so here’s a breakdown:
Cameras like the Sony FX3, A7sIII, & ZV-E1 can shoot up to 120 FPS in 4K with 25/30 FPS and 50/60 FPS giving you an uncropped image and going to 100/120 FPS will crop in 10% on the Full Frame.
The A7IV can only shoot 25/30 FPS in full frame uncropped and going to 50/60 FPS will crop in 1.5X which means your shot is zoomed in to a super 35mm Equivalent. It can do 100/120 FPS in HD uncropped but now you’re not getting 4K.
The FX30 which is a super 35mm sensor (1.5 x of a Full Frame Sensor) will give you 25/30, 50/60 FPS in 4 super 35mm uncropped but the moment you go to 100/120 FPS in 4K the image crops 2 x in other words you lenses become much tighter.
In conclusion, dynamic filmmaking is about mastering the art of contrast in various forms – brightness, color, sound, frame rates, and even in the way you use your gear. Embrace these principles, and watch as your films transform into compelling, cinematic experiences. And that’s it from me. I hope you enjoyed this blog and that you have a better understanding of dynamic filmmaking.
