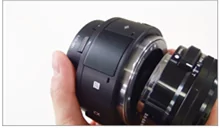
Clean the lens and image
How to clean the lens and image sensor of the Sony Cameras
This provides guidance on cleaning the camera lens and body by yourself.
Items to ready
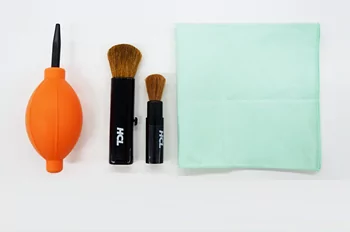
- Blower – This is used to blow away dust and dirt on or in the camera.
- Plain blower (recommended)
- We recommend a plain blower instead of a brush blower, etc.
- Squeeze the bulb with your fingers to force the air out. You can easily adjust the air pressure.
- Brush blower
- This can be used as both a blower and a brush. When using a brush blower with a removable brush, remove the brush when using it as a blower. This prevents dust on the brush from being blown onto the camera.
- Brush – This is used to wipe away dust on the camera body or lens. Use a large or small brush for the lens according to the situation.
- Cleaning cloth – This is used to wipe off the camera or lens. A cloth made of synthetic fibers, which can be washed and used over again, is recommended.
- Plain blower (recommended)
Notes:
- Do not use an air duster. Doing so may damage the image sensor, or cause a malfunction.
- Do not touch the sensor’s surface or blow on it too hard.
- Sony is not liable for any incidental or consequential damage due to mishandling at non-Sony service locations or otherwise.
You can check the following cleaning method in these movies
How to clean the lens
How to clean the image sensor
For E-Mount
For A-Mount
How to clean
Note: Some cameras have a sensor cleaning function. Please refer to the camera help guide on using the sensor cleaning function before physically cleaning your camera.
IMPORTANT:
- Do not apply lens cleaner solution directly to the lens.
- Do not use any organic solvent such as thinner or benzine to clean the lens.
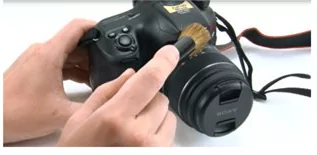
- Remove dust and debris from the camera body.
Use a brush to sweep dust and debris from the entire camera. Use a large brush for the outside of the camera and a small brush for delicate parts. Do not press the brush hard against the camera; sweep gently.
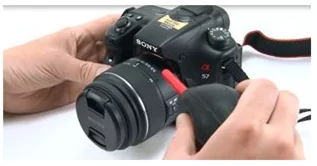
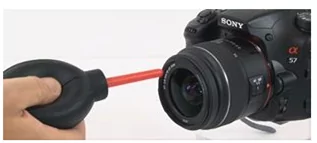
- Remove dust and debris from delicate parts using a blower.
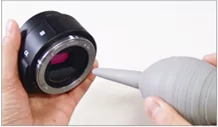
- Take the front lens cap off, and remove the dust on the lens surface using the blower.
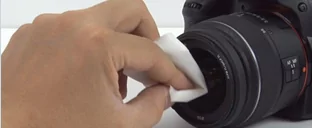
If particularly dirty, wet a soft cloth or lens tissue with lens cleaner solution, and wipe in a circular motion from the center of the lens.
- Replace the front lens cap to prevent dust from attaching to the lens.
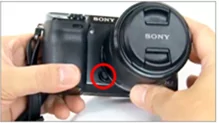
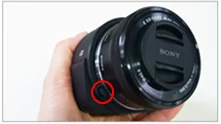
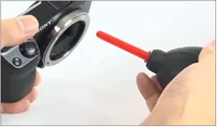
- Press the lens release button, and detach the lens.
*For the ILCE-QX1
IMPORTANT: Be careful not to touch the sensor’s surface.
- Use the blower while holding the camera facing slightly downward so that dust and debris easily fall off the sensor’s surface.
*For the ILCE-QX1
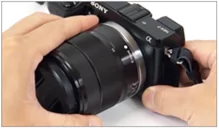
- Reattach the lens.
*For the ILCE-QX1
Notes:
- Take the lens off and on in a dust-free location. Dust and debris may easily enter the camera and lens in a dusty location.
- For an A-mount
When you attach the lens, confirm that the mirror has been completely locked down.
-
After you are finished cleaning, check that dust has been removed.
- Set the shooting mode to Aperture Priority (A), and the aperture value to F11.
- Take a picture of a white wall, white paper, or the sky.
- Make sure that no dust shows on the image.
Note: Many camera shops also offer professional cleaning services for image sensors that may be able to be performed in a timely manner.
If the issue is still unresolved, the product may need to be repaired. Go to Product Repair.


 *For the ILCE-QX1

 *For the ILCE-QX1
 *For the ILCE-QX1